
I recently bought an entire Dynaco system including a PAS-2 preamp, ST-70 power amp, Dynaco tuner, and Dual turntable. It appeared that none of the pieces had seen any use in years. I started by fully recapping the ST-70, and yesterday I finished up rebuilding the power supply on the PAS-2. This is the third piece I've worked on, so I'm still learning, but I was able to finish the upgrade in one day.
If you are new to tube gear restoration, you might want to see my entry on recapping a Fisher KX-100. That project was a lot more involved, and big piece to take on for my first project.
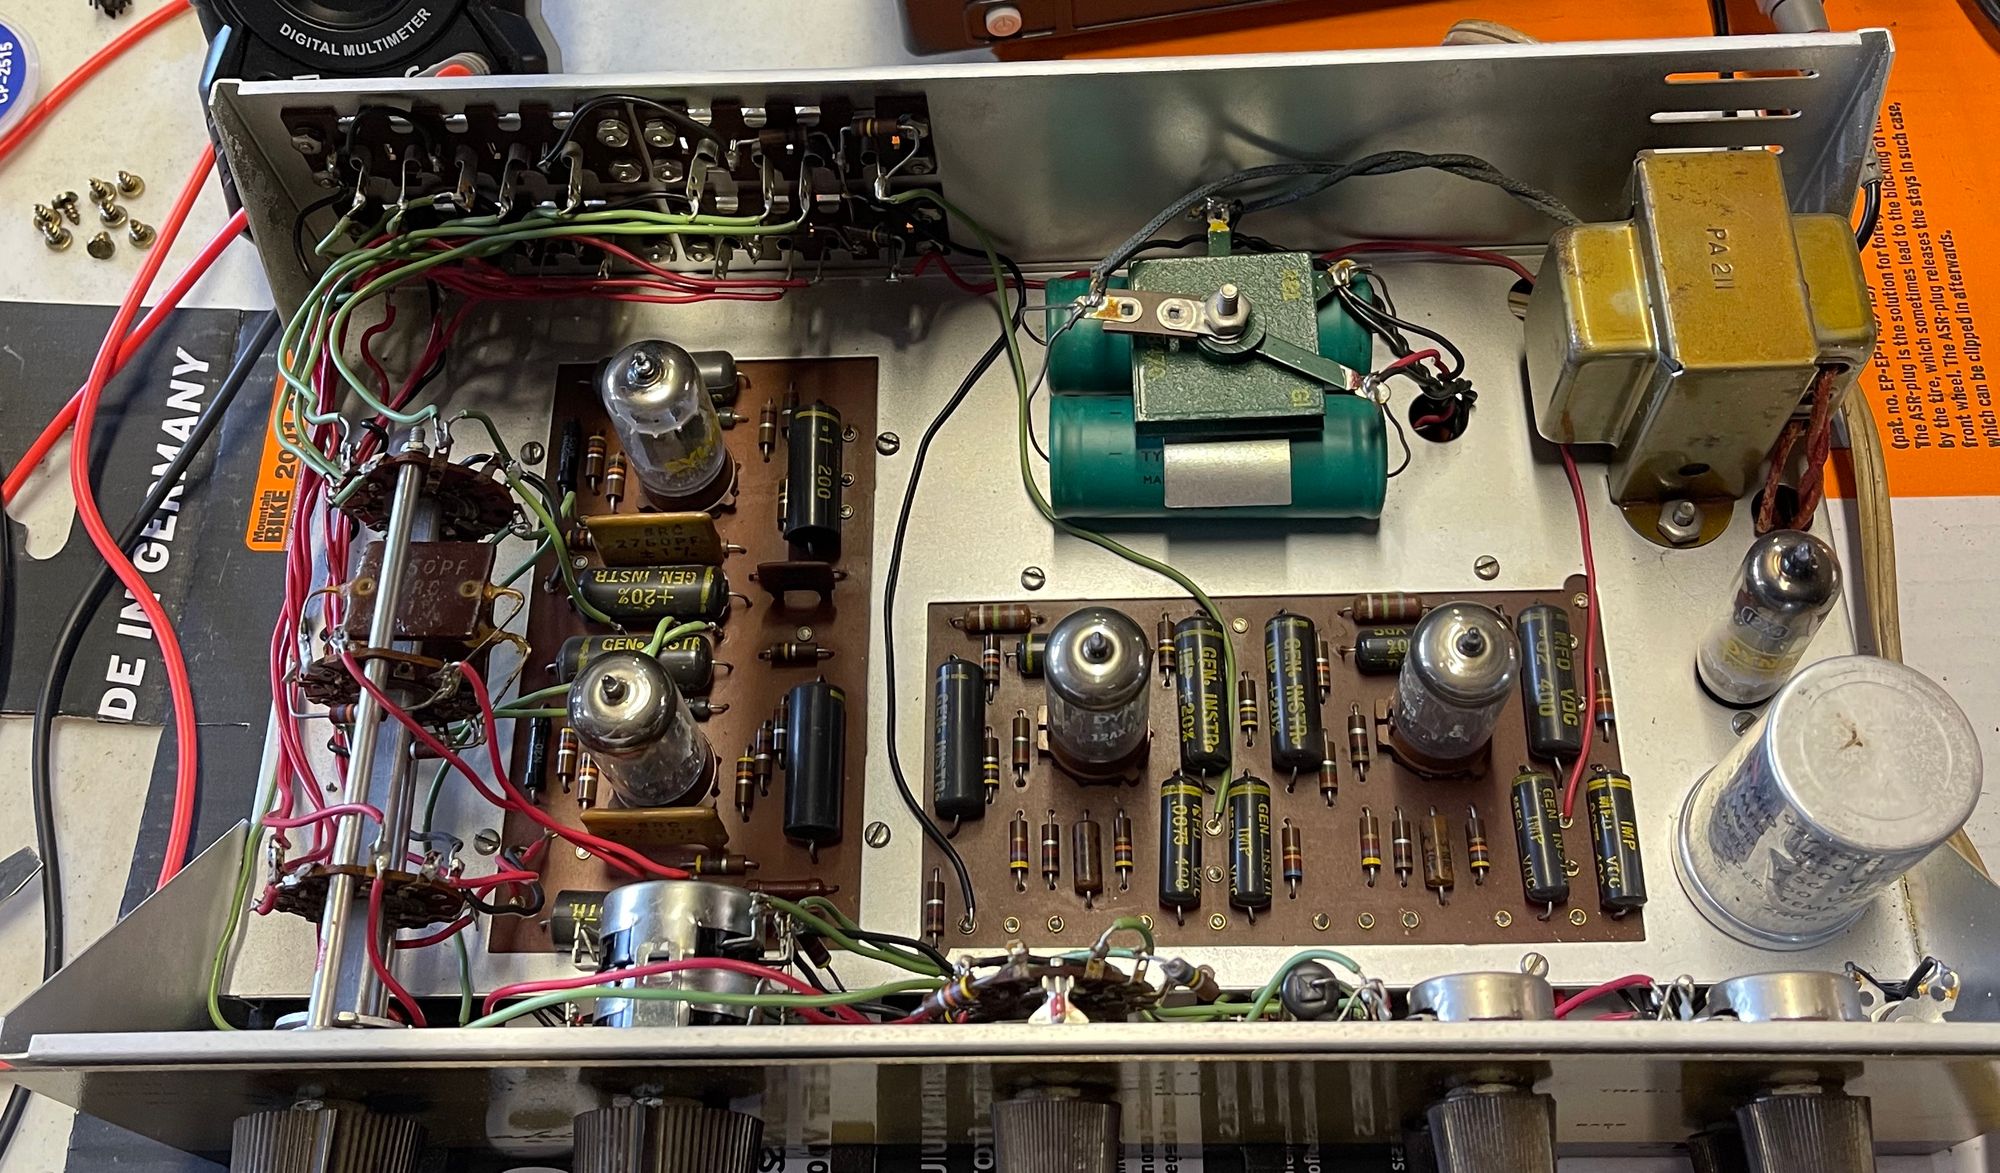
This PAS-2 was pretty clean inside, and I hated to do anything to it, but frankly it sounded terrible, and had the original selenium rectifier, which needs to go for safe operation. After some research, I decided on the power supply board from triodeelectronics.com. I also ordered a new set of Tung-sol 12ax7 tubes.
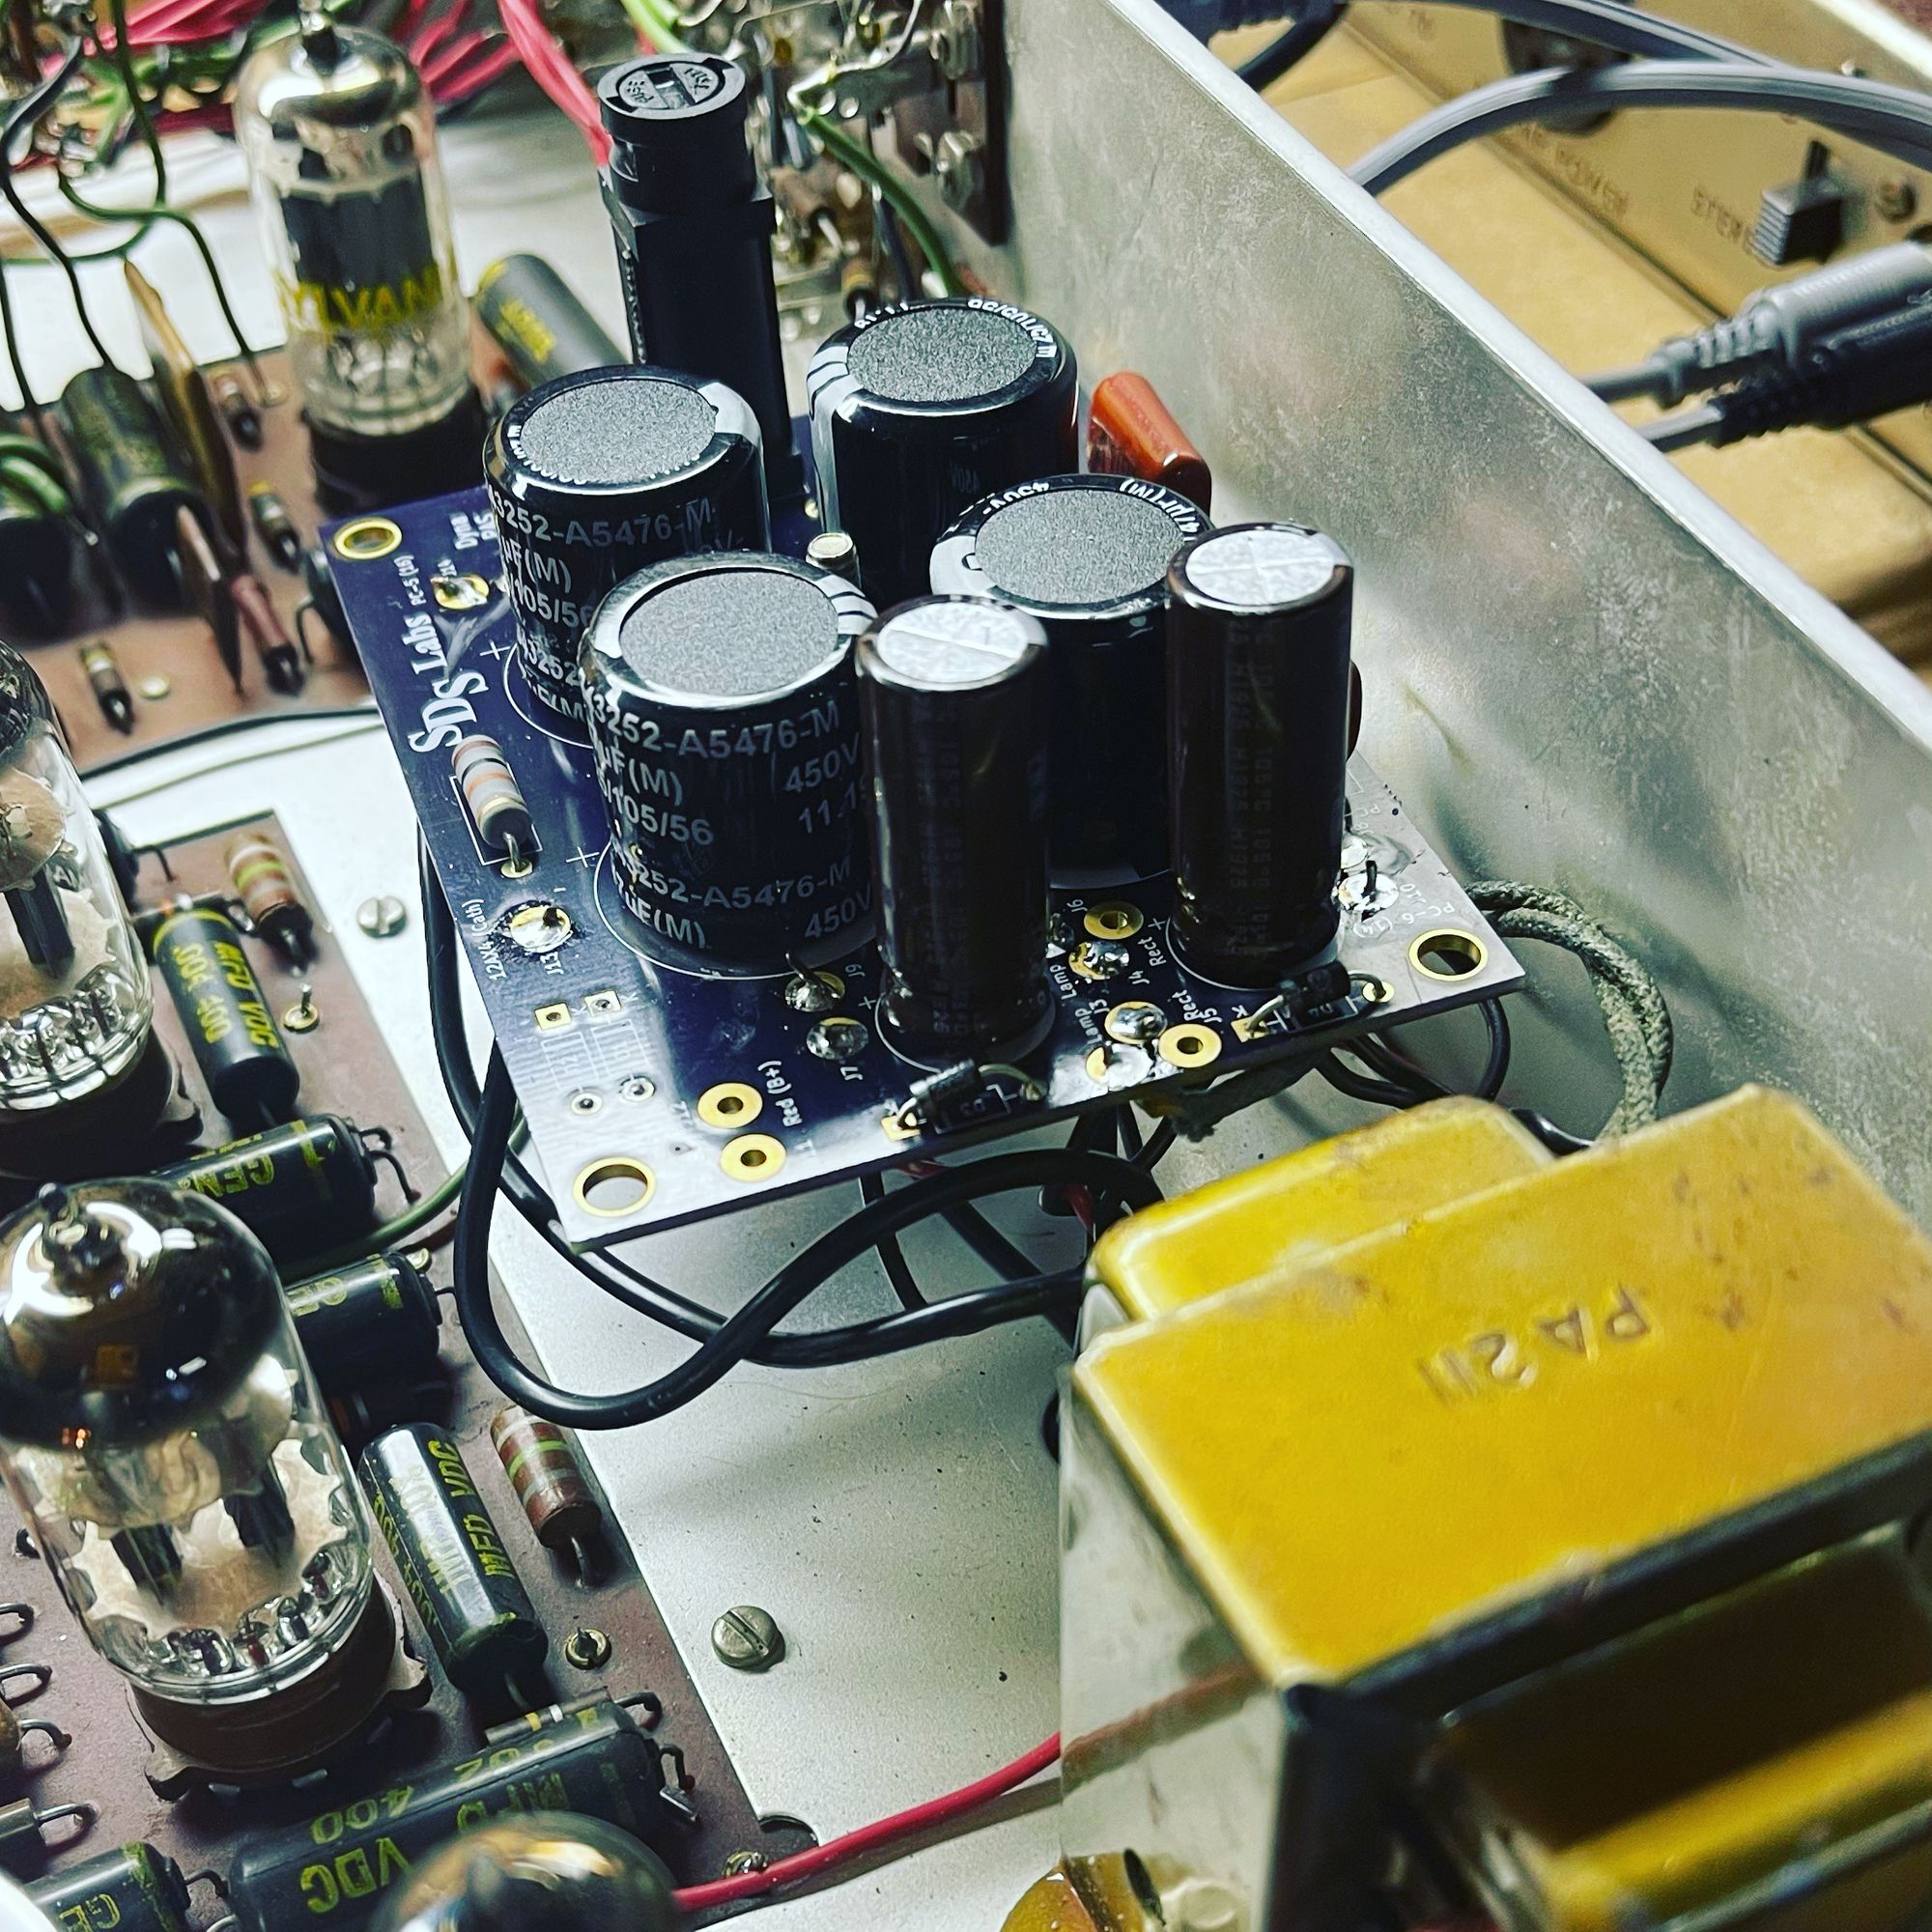
The board, which is fairly expensive at around $100, replaces the 4-way capacitor can, power capacitors, the selenium rectifier, and a couple resistors. It also adds a fuse, which, surprisingly, was omitted from the original design. It attaches directly to post where the selenium rectifier is mounted.
Couple notes regarding this board:
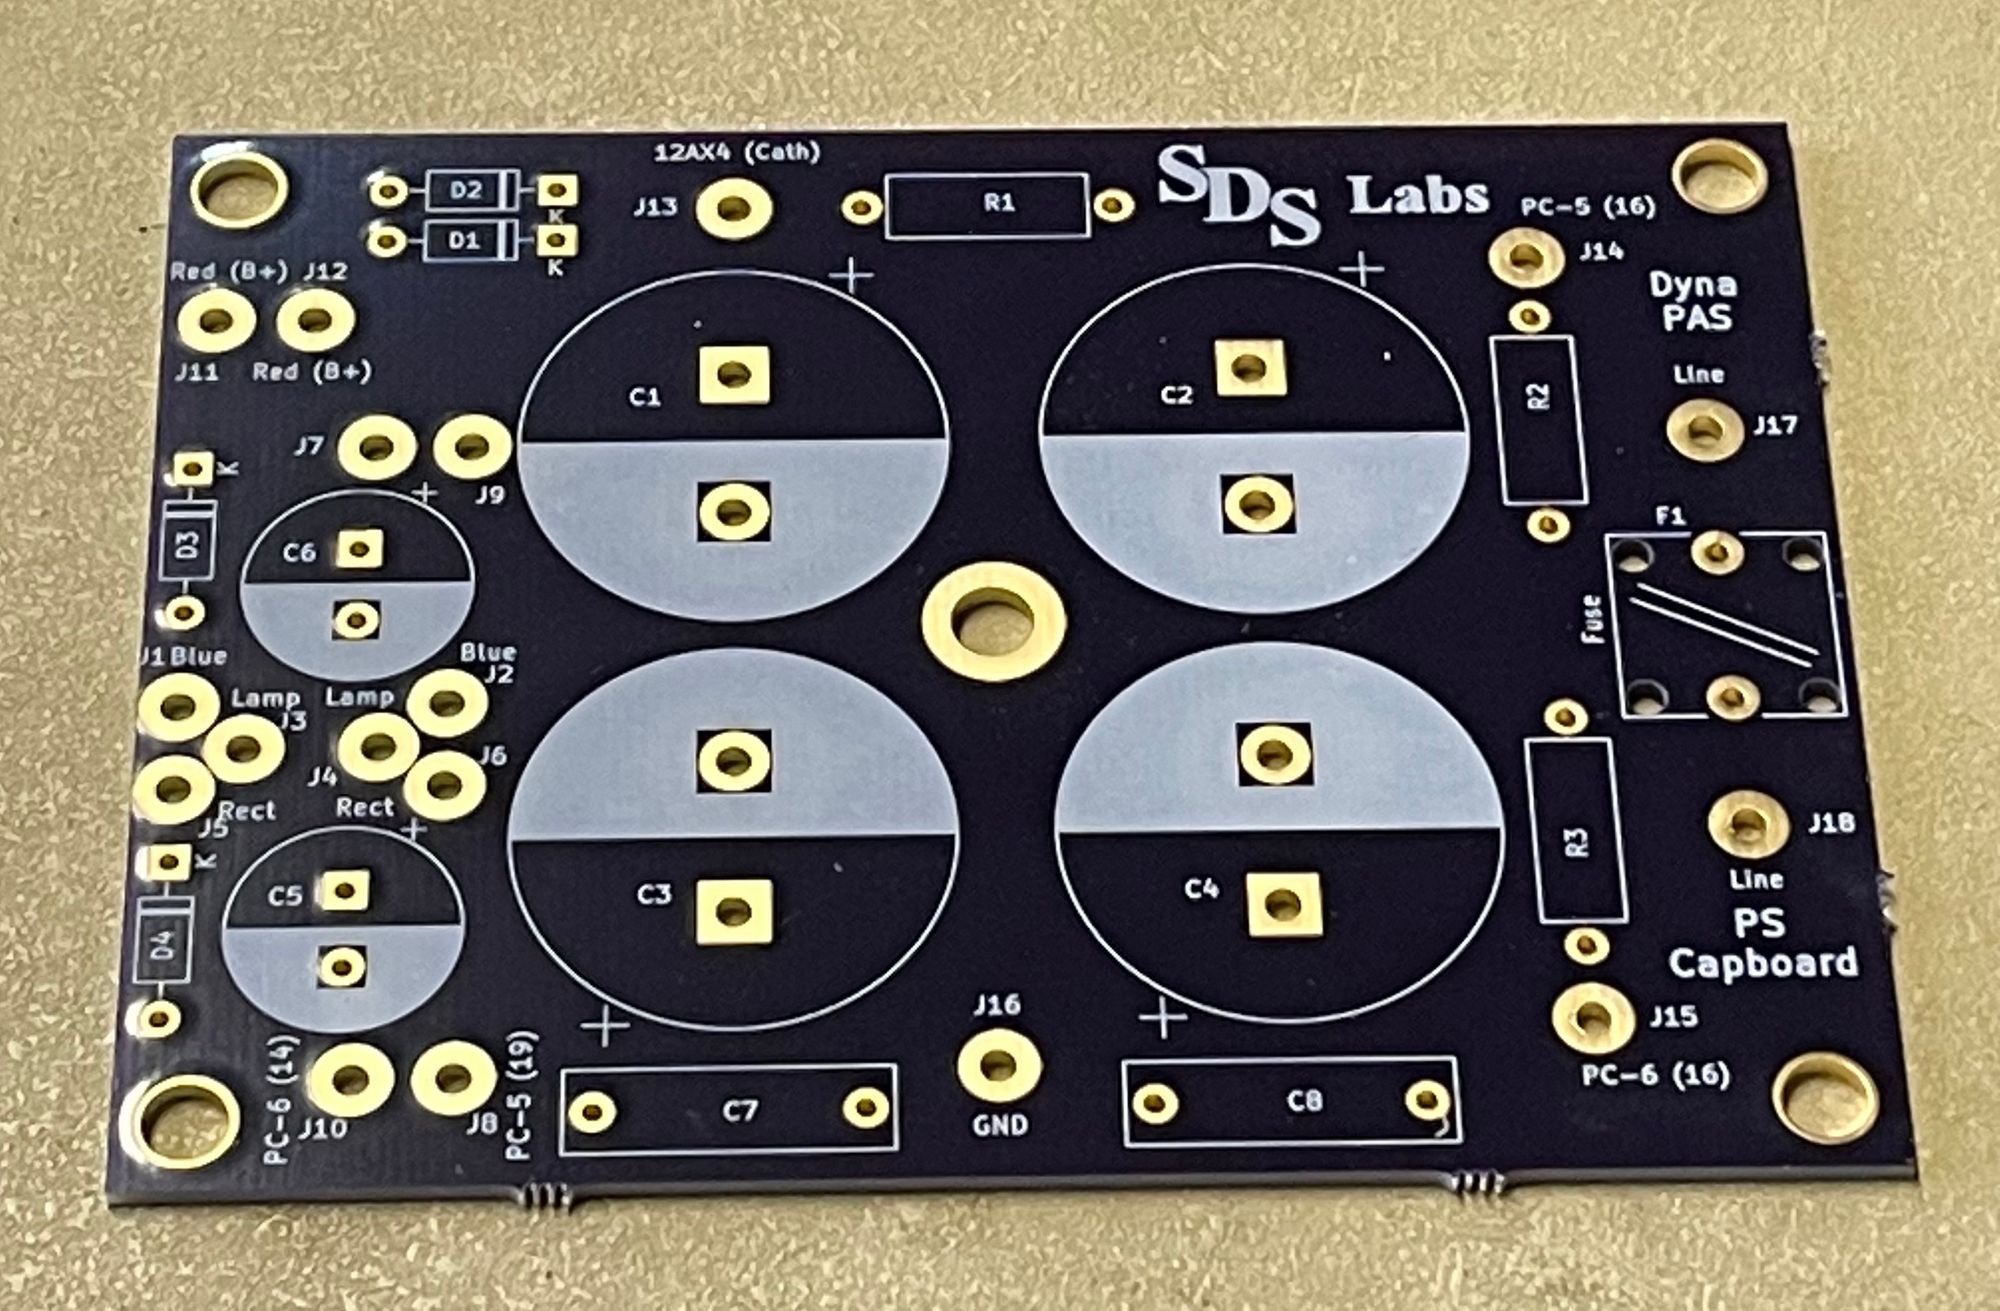
- The board I received was NOT the one pictured on website. My board appears to be a newer revision
- The board comes with parts, but is NOT populated. You have to solder on the diodes, capacitors, and resistors
- The board did NOT come with instructions. And some of the pins on the board are either not marked or are less than obvious. I had to refer to the schematic to make sure I was wiring it up up correctly. The instructions I found online were for an older version of the board
- It can be kind of tricky to wire up the board as there are quite a few wires which run under the board, and you must run some new leads
Overall, I was able to finish the project in one long day. The trickiest part was making sure the board was wired up correctly, as I mentioned, some of the pins are not marked, and there are no instructions for this version of the board. I eventually figured it out by looking at the schematic.
The pins marked "lamp" are part of the 12x4 heater circuit, and yes that circuit also powers the lamp. The unmarked pins (J7 and J9 in the above picture) are a common point from one of the diodes. I double and triple checked the schematic to make sure I was getting those correct.
The board can optionally replace the 12x4 rectifier tube. I decided to keep it, which I think simplifies the wiring, and keeps the circuit a bit more original.
Other than that, just make sure the polarity is correct on the capacitors and diodes, and the wiring if fairly straight forward.
Final thoughts
If you plan to keep a Dynaco PAS in regular operation, this is a worthy upgrade. It doesn't replace any of the components in the signal path, but makes the unit safe to operate. Be careful when wiring up unlabeled parts of the board, and you should be good to go. I brought the unit up on my VARIAC, tested voltages along the way, and it worked perfectly on the first power-on.
So this begs the question, should any signal components be upgraded? If they appear damaged or are out of spec, yes, otherwise it is for you to decide. Since this unit is so clean, I've decided to run with the original signal components and consider an upgrade in the future.